
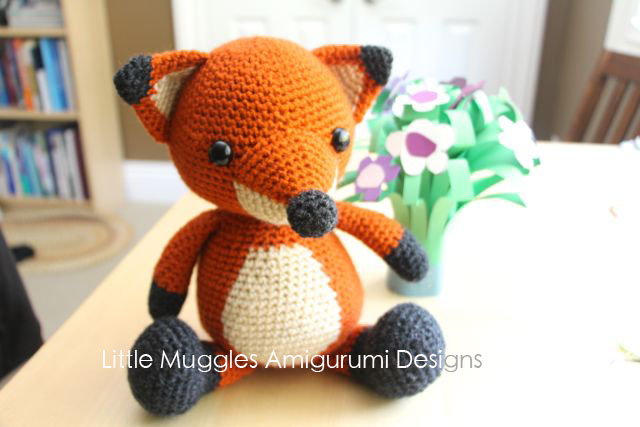
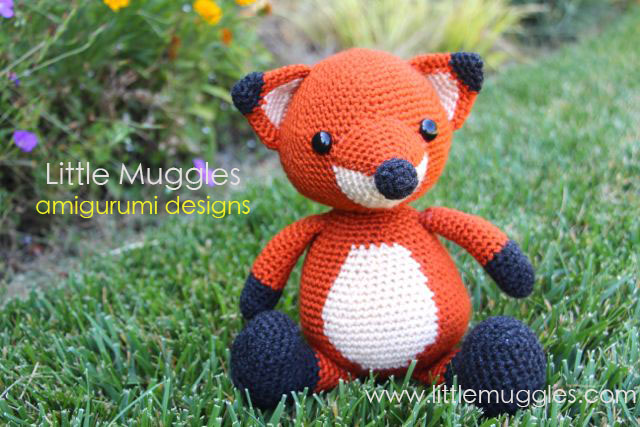
I’m always on the lookout for my next ami project…what animal should I create next? A little while back, I posted this question on my Facebook page and was delighted by all the responses I got! I read through all the suggestions and was inspired to make a little fox! This is the first animal in my intended upcoming “Woodland Creatures” collection. I have yet to decide exactly how many animals I will make, or what animals will actually BE in the collection, but I’ve started brainstorming! 🙂 I’ve got a raccoon, a squirrel, and a beaver running through my mind…oh who knows what I’ll decide to add to the collection! It’ll be a surprise for both you and me as to what I come up with! And speaking of Facebook, I recently asked for help in coming up with a name for this little guy! There were over a 100 suggestions and there were so many great ones to choose from but the winner is…”Chester” the fox! A big THANK YOU for all who made suggestions! The pattern for Chester is now available in my shops at ETSY and CRAFTSY!
It took me quite some time to come up with a good idea of what I wanted to do for a fox. There are already so many amigurumi foxes out there… I wanted to try and make something different. The ears were what I focused on first. I wanted to make them black tipped, and I added the light triangular patch for color contrast. I think this is something unique to my doll.
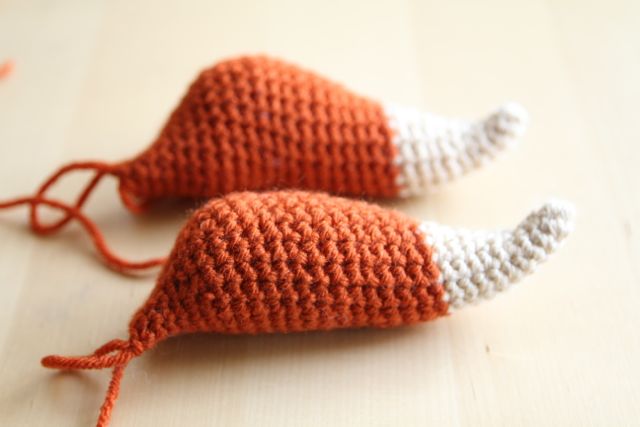
The snout came next and I had a lot of fun figuring out how to do the color transitions so that the top would be orange and the bottom would be light, like a real fox’s snout. After a number of failed attempts, I finally got it to my satisfaction on the 4th try!! Whew! I’m glad I didn’t give up because I’m really pleased with the final result!
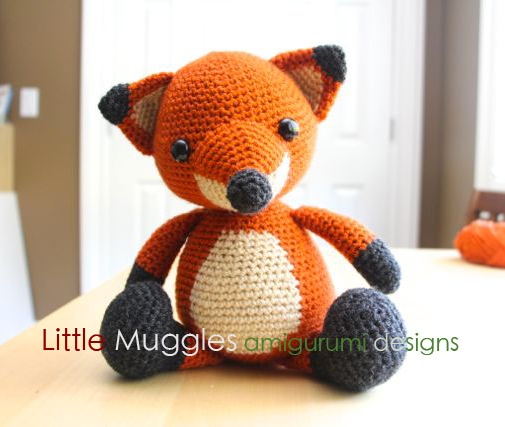
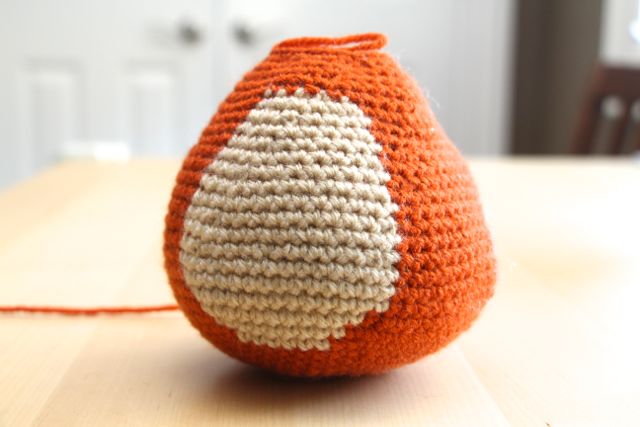
The ears were tricky and all the re-do’s on the snout took up a lot of time, but I have to say that the most challenging thing about making this fox was deciding how to do the belly patch! It’s really hard to make it things look symmetrical when crocheting in spirals, like we do with amigurumi! It took me 3 tries of the body before I came up with something I felt was acceptable. Early on, I decided that I really wanted the light colored belly patch incorporated into the body of the doll, rather than having to sew it on afterwards. My determination to stick to this decision made it a lot harder for me!
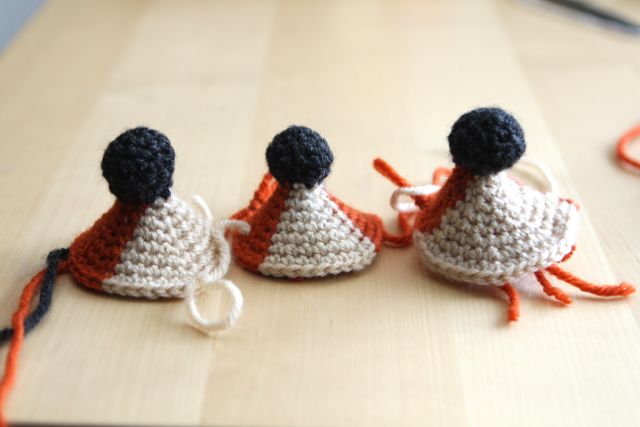
Here’s a peek of what the body in progress looks like!! All the yarn ends need to be tied at every single color transition and that’s a secret to making neat color edges! It takes extra time and a lot of patience, but the end result is totally worth it!
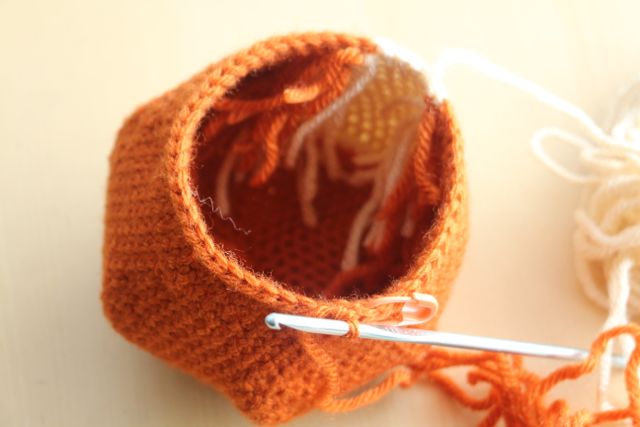
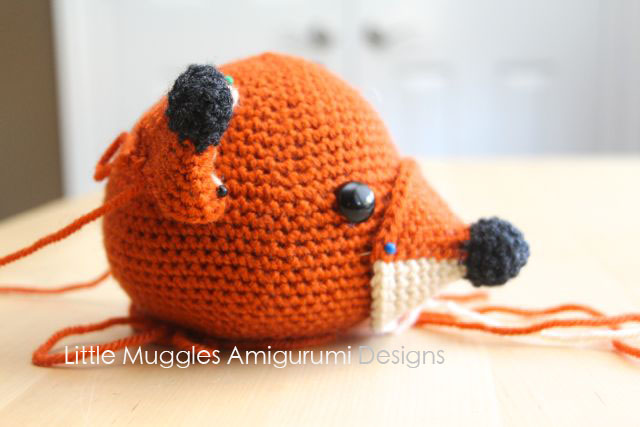
Looking at the body from the front, you’d never guess what a big mess it is on the inside!! Luckily, the yarn ends on the inside never see the light of day, especially after the body is stuffed full of fiber fill and is attached to the head! That’s one of the beauties of amigurumi – it’s so easy to conceal yarn ends! Weaving in yarn ends on projects is definitely something I DREAD with passion, so to be able to easily hide them all inside the body cavity is awesome!
Here is the fox body version 1.0 and a deconstructed version 2.0! After finishing the fox, I started unraveling one of the failed bodies. Now I wish I hadn’t because how the heck am I going to store this jumbled mess of yarn now? What do you do when you crochet something that you end up not using? Do you re-use the yarn or do you toss it out?

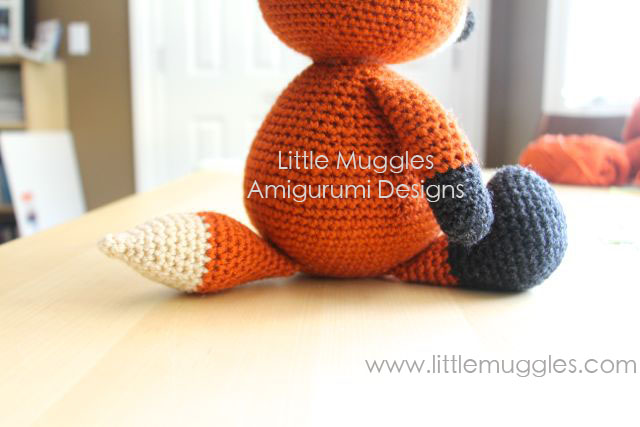
The fox tail was another challenge. Again I was a bit ambitious early on, wanting to make it curved at the tip. I think I actually made a few that looked alright, but to try to explain how I did it would be a whole other story! It was pretty complicated and I ultimately decided to keep a simpler tail, which I think matches the overall look of the doll pretty well.
So even though this fox looks like a pretty simple doll, it sure took a long time to design! I’m getting a bit better at using/changing colors in my creations now, so don’t be surprised if future patterns include a lot more color transitions! I hope to come up with many more creations to WOW you! 🙂
Since I’ve finished my fox, I’ve been struck by a sudden burst of inspiration to make a baby emporer penguin chick. I’m in the process of fine tuning it now, and I expect to have several of them to show you all by the end of the month! Stay tuned!!
Me encantan estos trabajos me gustaría tener las gráfico
Me encanta me gustaría tener las patrones