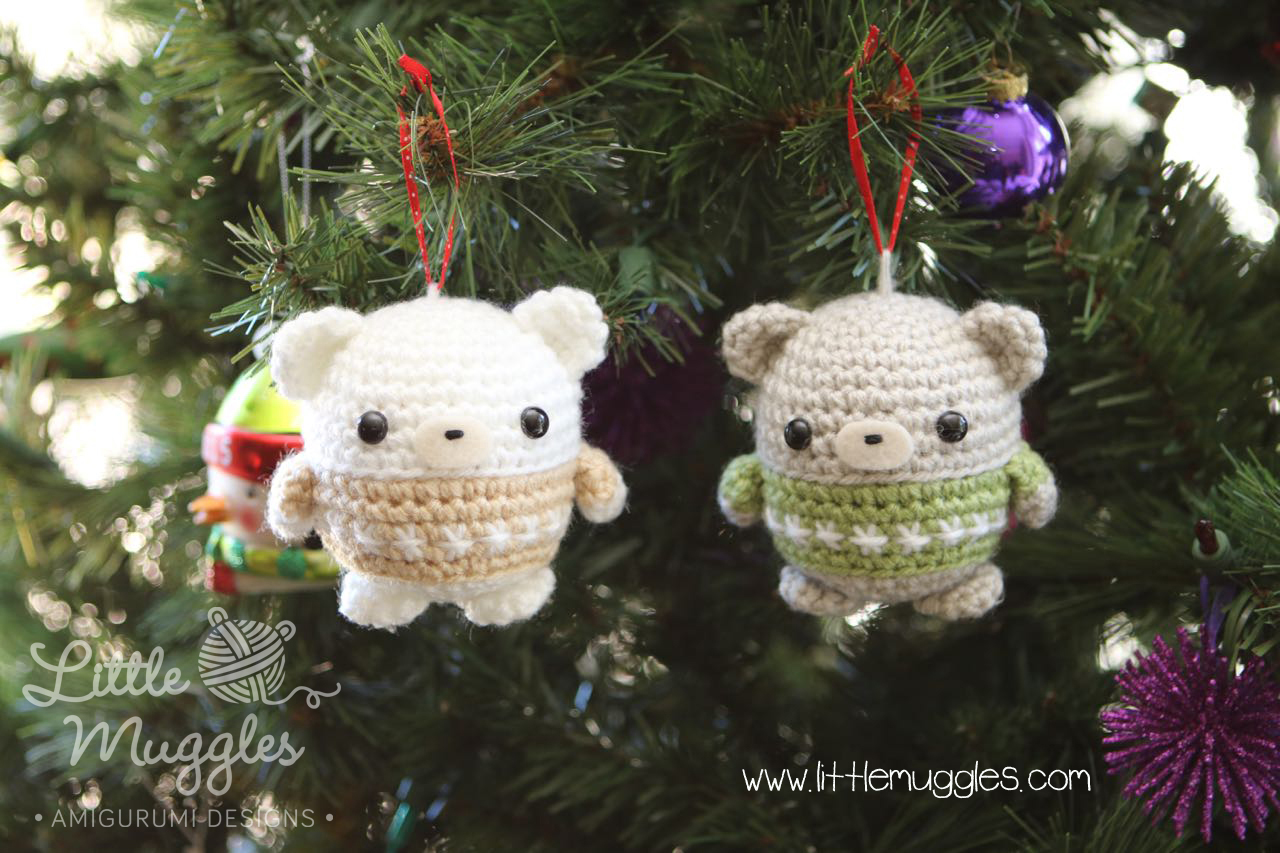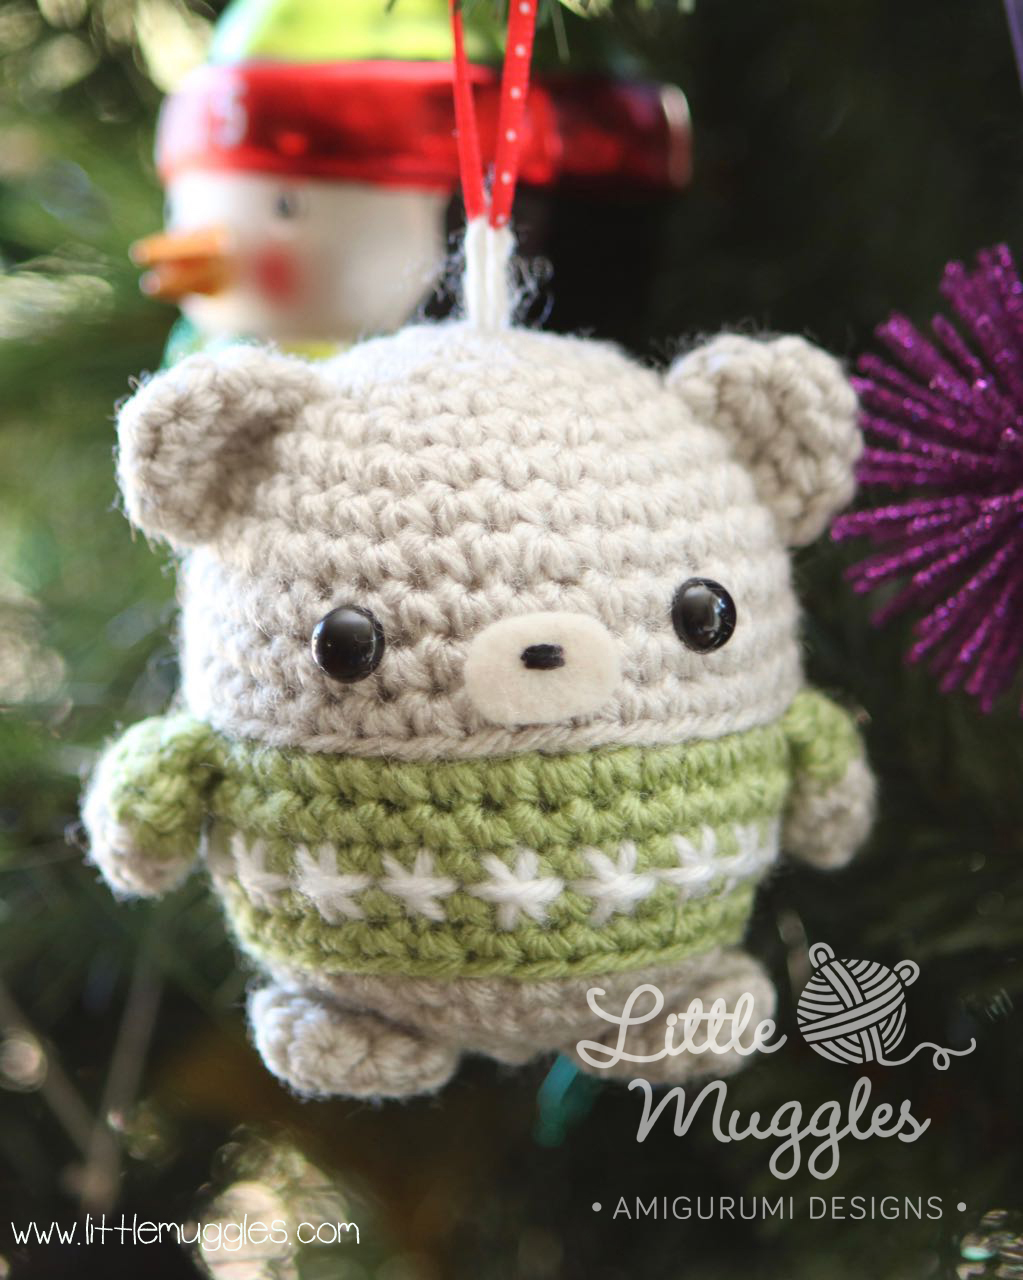
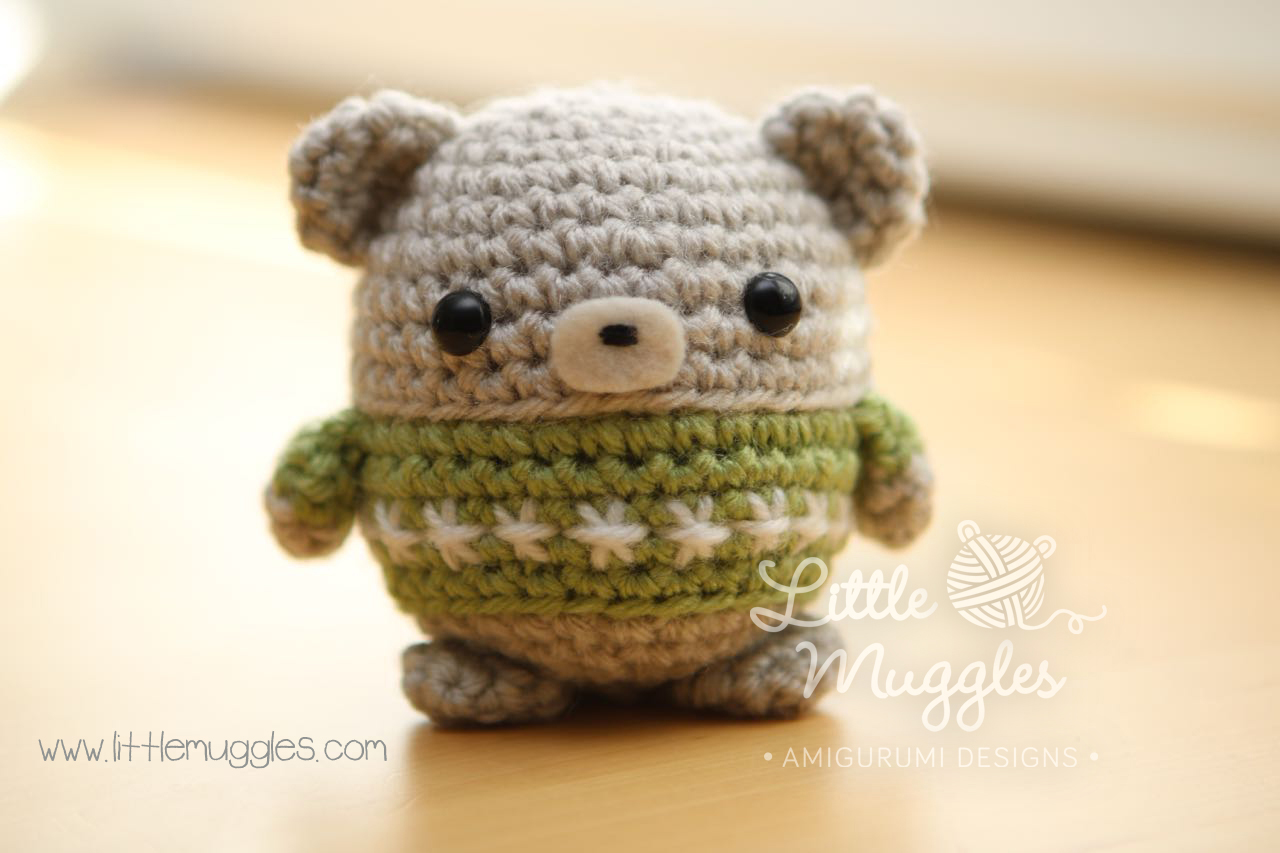
In honor of the holiday season, I present this pattern to you!! I hope that it will spread joy and happiness to you and your loved ones. Please send along pictures of your finished dolls to littlemuggles@yahoo.com! My finished doll is approximately 3.25 inches tall (about 8cm).
With warmest wishes from me to you – XOXO, Amy
MATERIALS
- USD3/3.25mm crochet hook
- worsted weight yarn in 2-3 colors (for body, sweater,and snowflake design) In my examples, I used Vanna’s Choice in Linen/Dusty Green, White/Cranberry, and White/Beige
- 9mm black safety eyes
- yarn needle
- small piece of felt
- black embroidery thread
- fiber fill
- thin ribbon
ABBREVIATIONS
- sc single crochet
- inc increase
- dec decrease
- BLO back loops only
- slst slip stitch
HEAD/BODY
- Rnd 1: make 6sc into magic ring
- Rnd 2: inc in each st [12]
- Rnd 3: (sc, inc in next st) repeat 6 times [18]
- Rnd 4: sc in all 18 st [18]
- Rnd 5: (2sc, inc in next st) repeat 6 times [24]
- Rnd 6: (3sc, inc in next st) repeat 6 times [30]
- Rnd 7: sc in all 30 st [30]
- Rnd 8: (4sc, inc in next st) repeat 6 times [36]
- Rnd 9-11: sc in all 36 st [36]
change to sweater color
- Rnd 12: BLO slst in all 36 st [36]
- Rnd 13: (into both loops) sc in all 36 st [36]
- Rnd 14-16: sc in all 36 st [36]
- Rnd 17: (4sc, dec) repeat 6 times [30]
change to body color
- Rnd 18: BLO slst in all 30 st [30]
- Rnd 19: (3sc, dec) repeat 6 times [24]
Place the safety eyes between Rounds 9 and 10, with an interspace of 6 stitches.
Try to position the color transition “step” on the side so it will be covered when the arms are attached.
Stuff your piece generously with fiber fill!
- Rnd 20: (2sc, dec) repeat 6 times [18]
- Rnd 21: (sc, dec) repeat 6 times [12]
- Rnd 22: dec 6 times [6]
- Bind off and weave in tail
EAR
make 2 in body color
- Rnd 1: Make 4sc into magic ring
- Rnd 2: inc in each st [8]
- Rnd 3: (sc, inc in next st) [12]
Bind off and leave a tail. Using your yarn needle, sew the opening of the ear shut.
ARMS
make 2 – start with body color
- Rnd 1: make 4sc into magic ring
- Rnd 2: inc in each st [8]
change to sweater color
- Rnd 3-4: sc in all 8 st [8]
Bind off and leave a tail. Using your yarn needle, sew the opening of the arm shut.
FEET
make 2 in body color
- Rnd 1: make 4sc into magic ring
- Rnd 2: inc in each st [8]
- Rnd 3: sc in all 8 st [8]
Bind off and leave a tail. Using your yarn needle, sew the opening of the foot shut.
MAKING THE SWEATER DESIGN
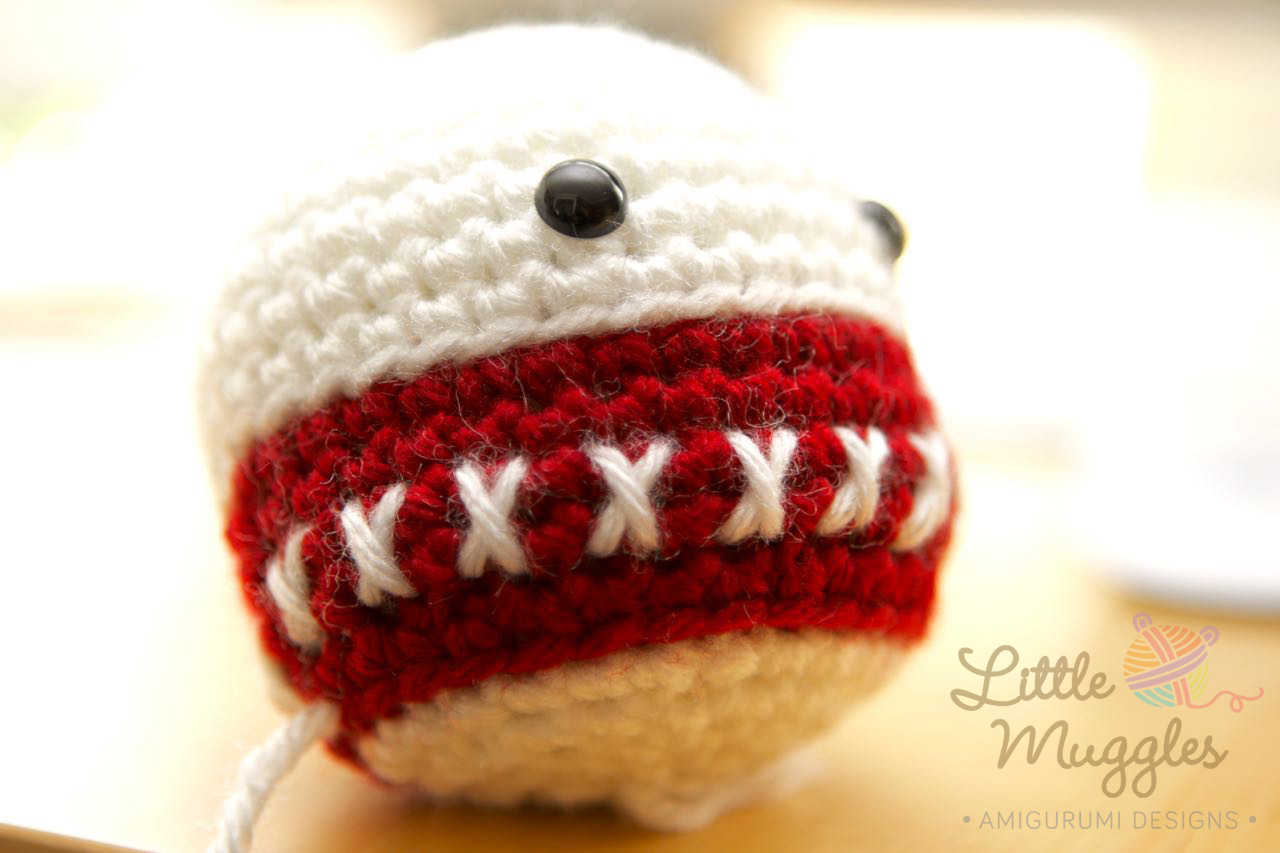
Use a cross stitch technique to make the snowflake design on the sweater.
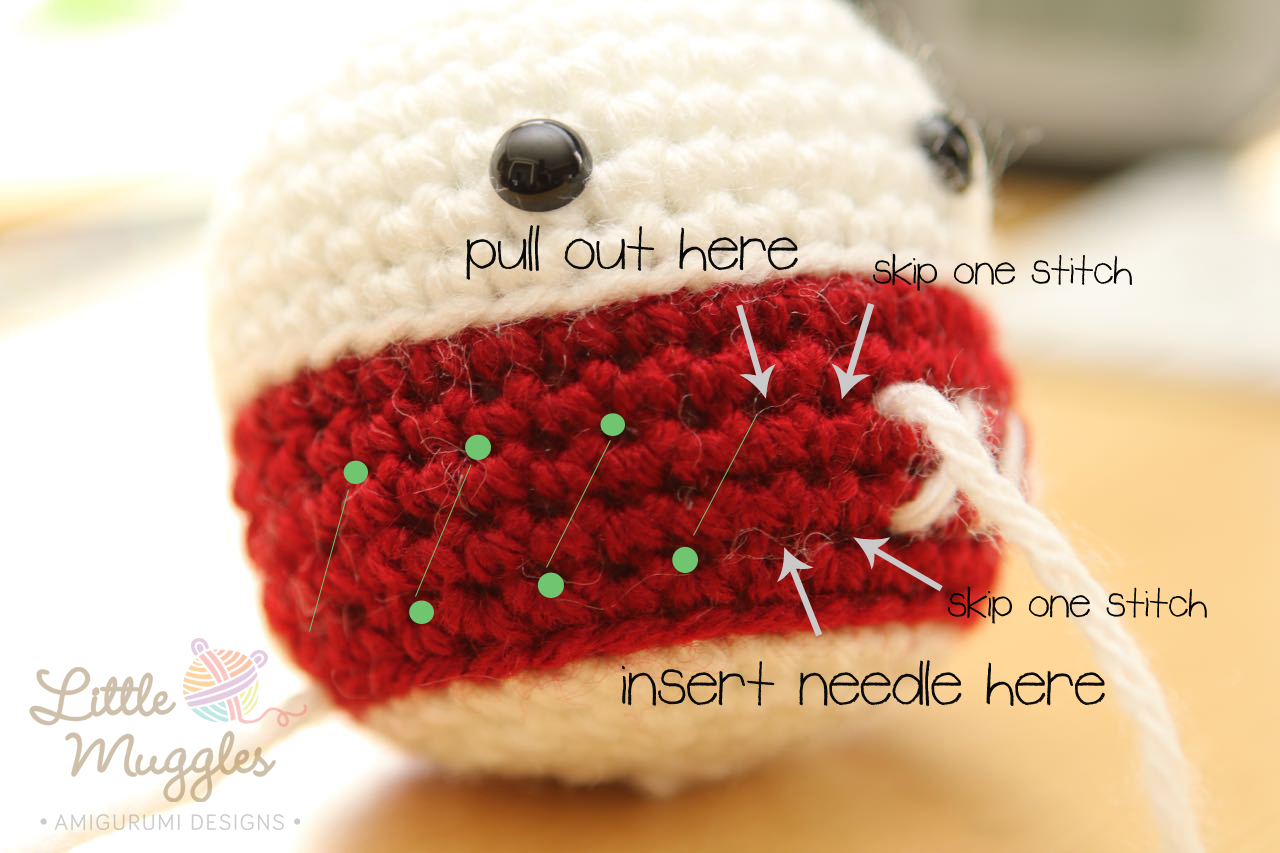
With a long piece of yarn (I used about a 6ft length of white yarn!), start cross stitching as seen in the above picture. First, make a row of diagonal lines. Watch out for the “step” that occurs at the beginning of your rounds. This is expected from working in spirals. I like to start my cross stitching at the about the same junction of this step.
Once you’ve completed your row of diagonal stitches, continue working in the opposite direction and make your second set of stitches. This creates a neat row of “X’s”. Use the stitch openings that you skipped over while making the first row.
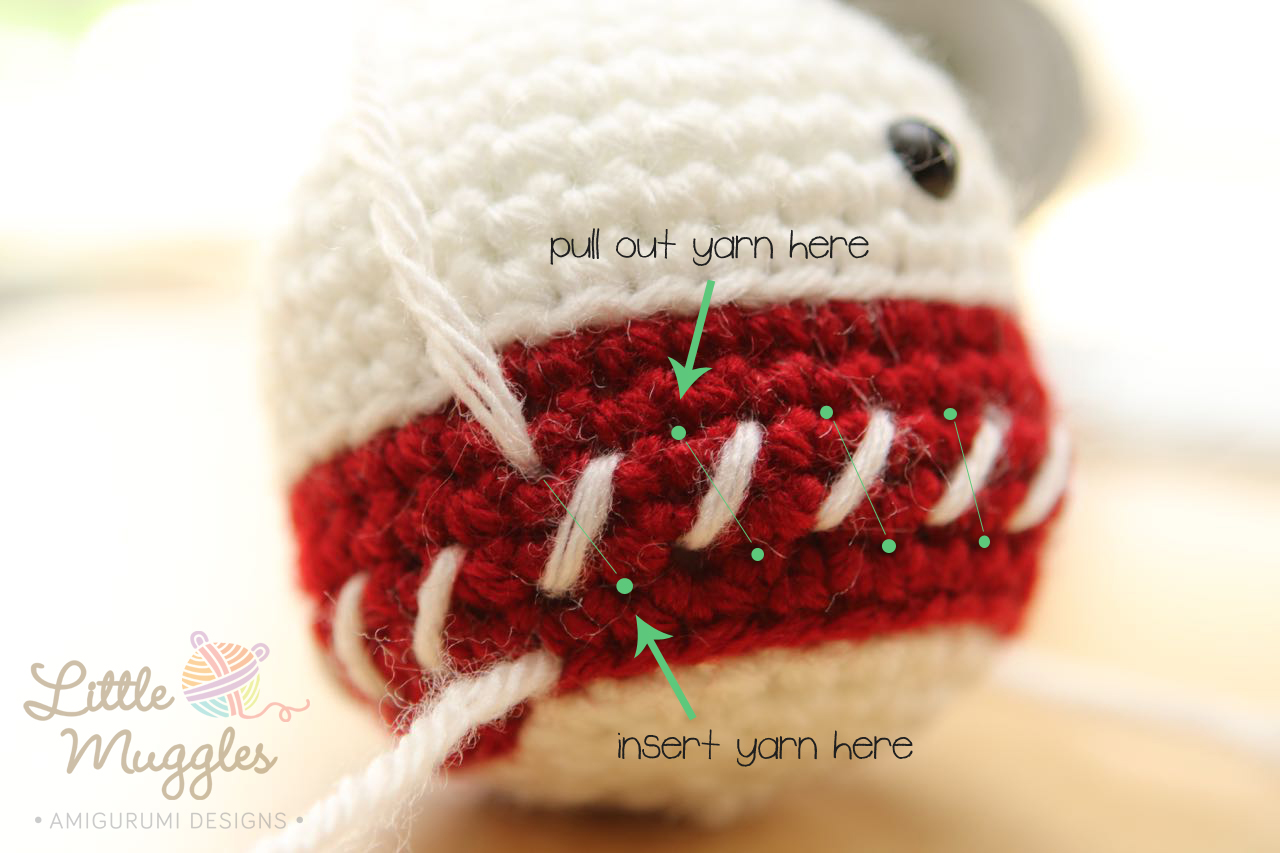
Next, take the yarn and use it to make horizontal stitches across the “X’s”.
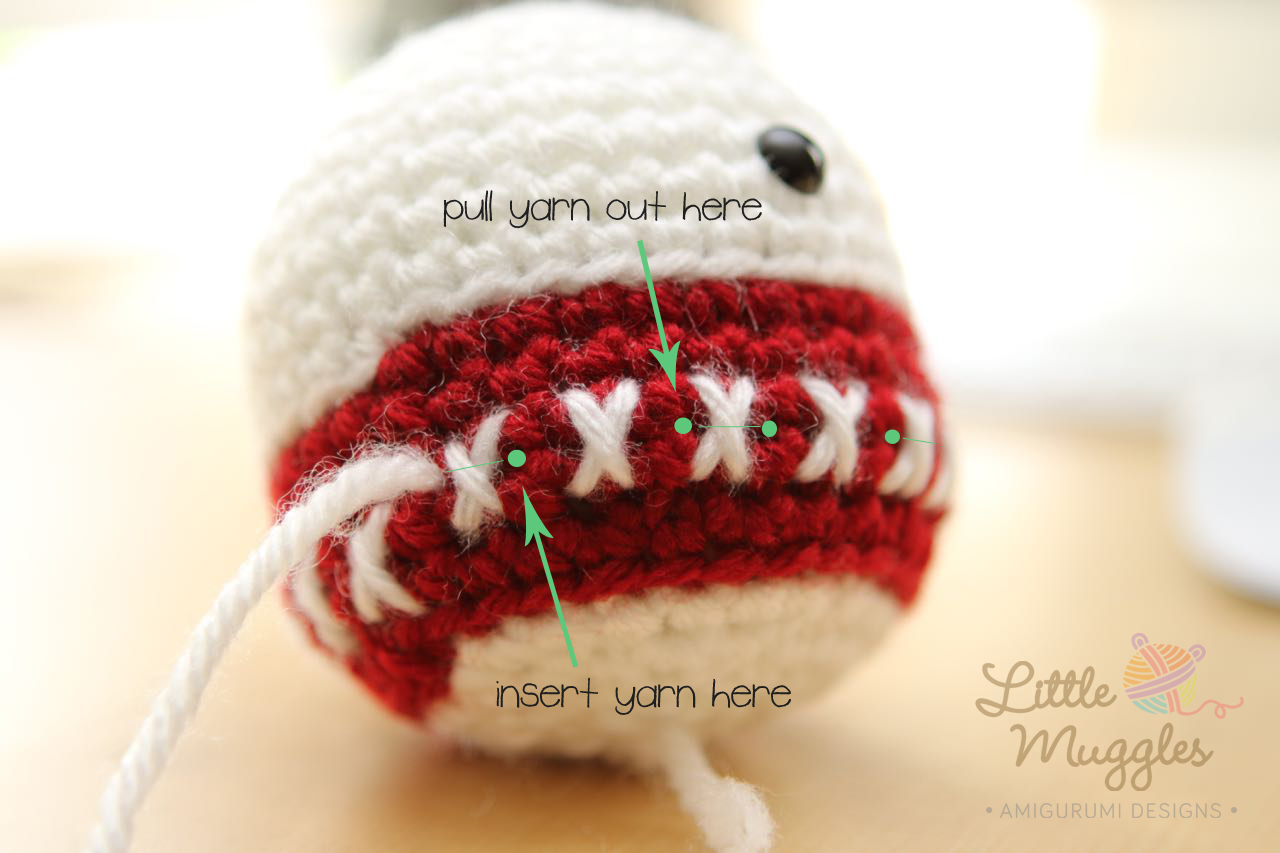
You will be crossing every other “X” as in the picture below.

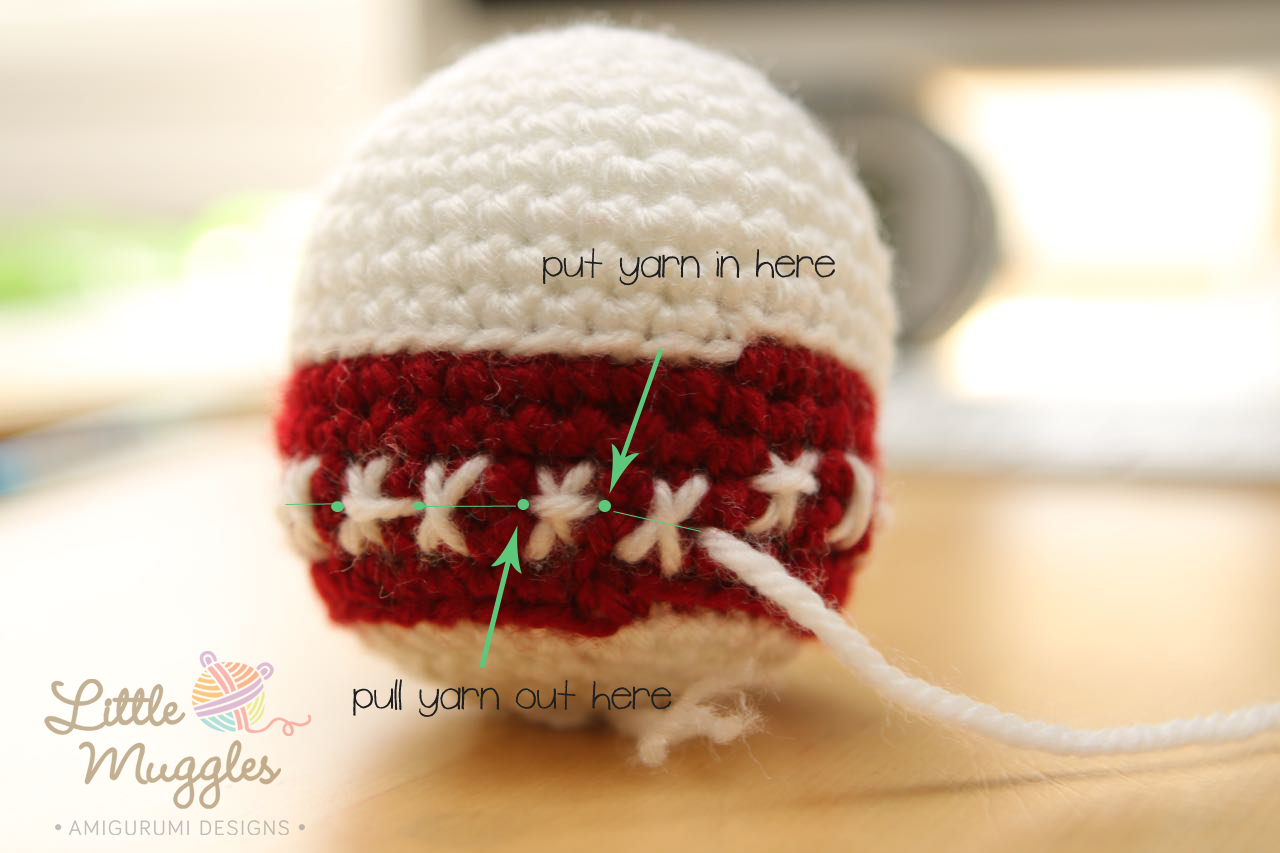
When you get to the end of the round, it should look like the picture below. Now go in the opposite direction and horizontally cross all the X’s that you skipped over, putting the yarn in and out of the same points that you just used.
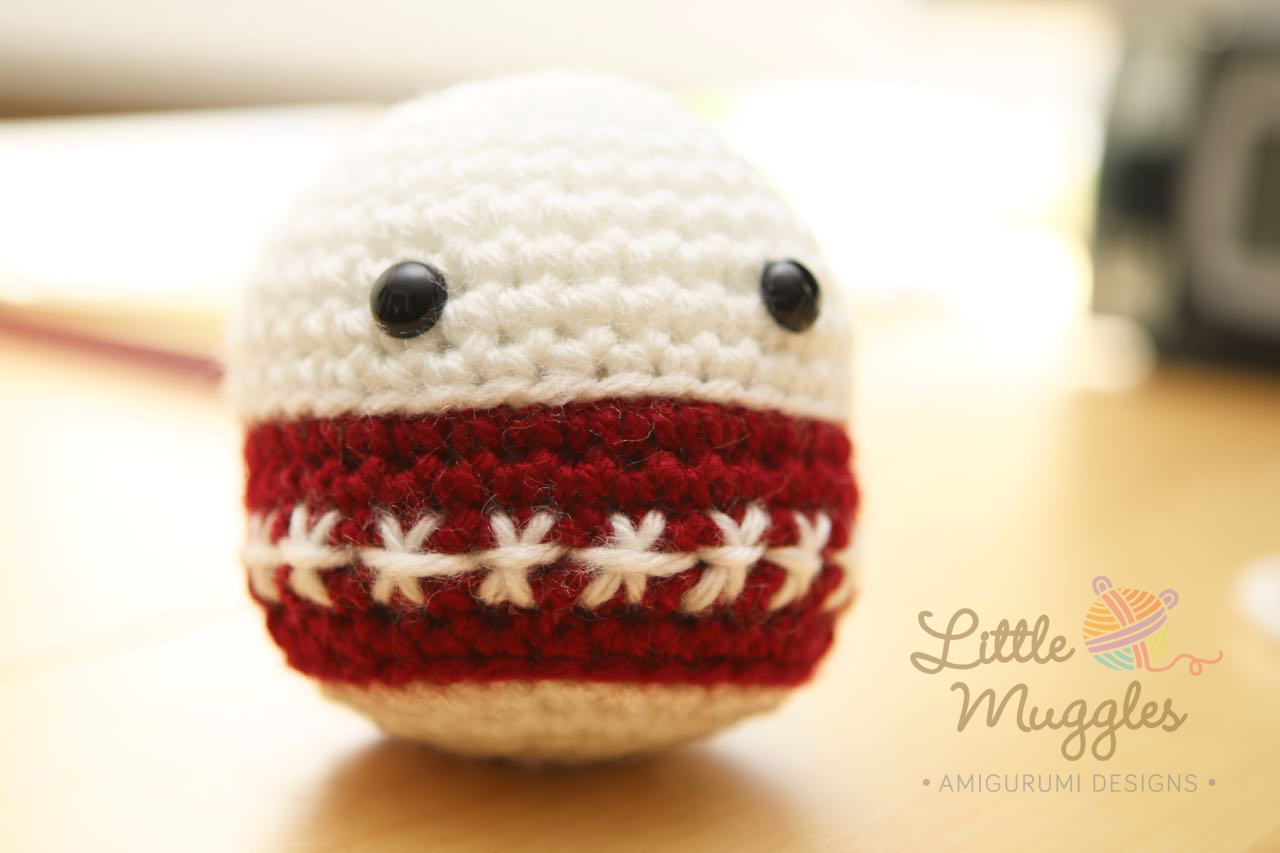
TaDa! It should look like this when you are done. You should now have a nice neat row of “snowflakes” on the sweater! Cute, right? Weave in your yarn tails.
Attach the ears, arms and feet symmetrically to the body. Cut a piece of felt for the snout. Sew a small nose with embroidery thread and attach the snout to the head with tacky glue.
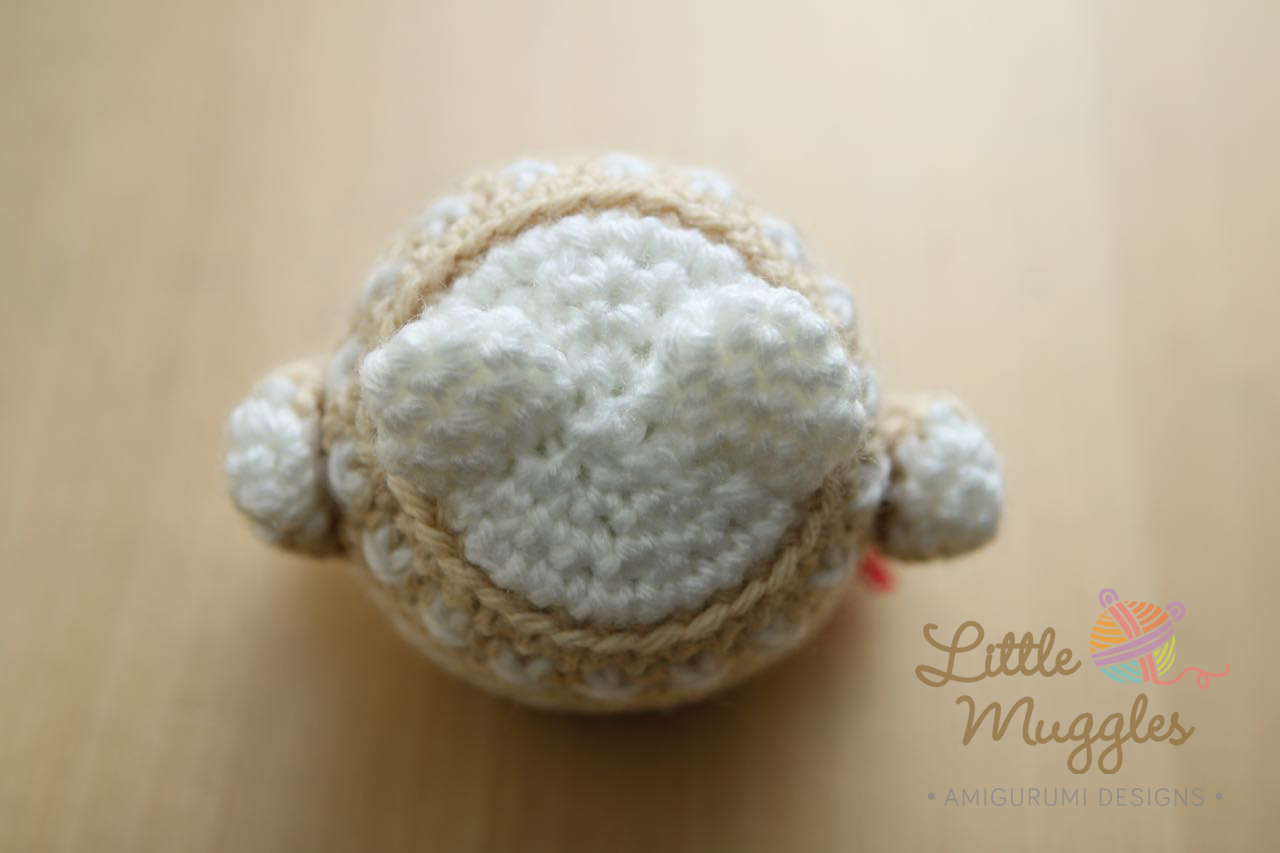
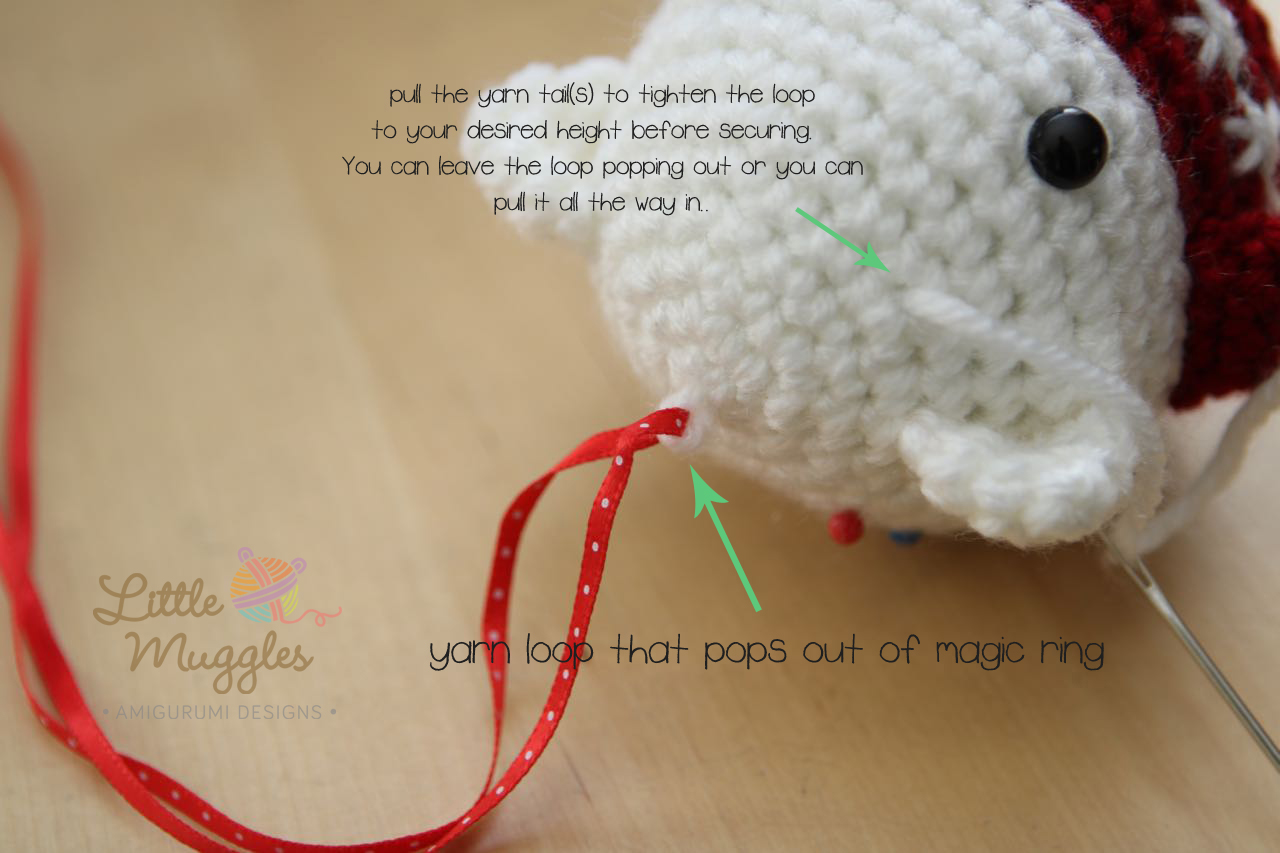
To add a loop for hanging the ornament, threaded a loop of yarn up through the magic ring that’s on top of the head. Next, thread a ribbon through this loop and tightened the yarn loop. You can either leave the small yarn loop popping out or you can pull it all the way down into the body so that it is out of sight. Weave in the yarn tail(s) to secure its position. Tie your ribbon and you’re all set to go!
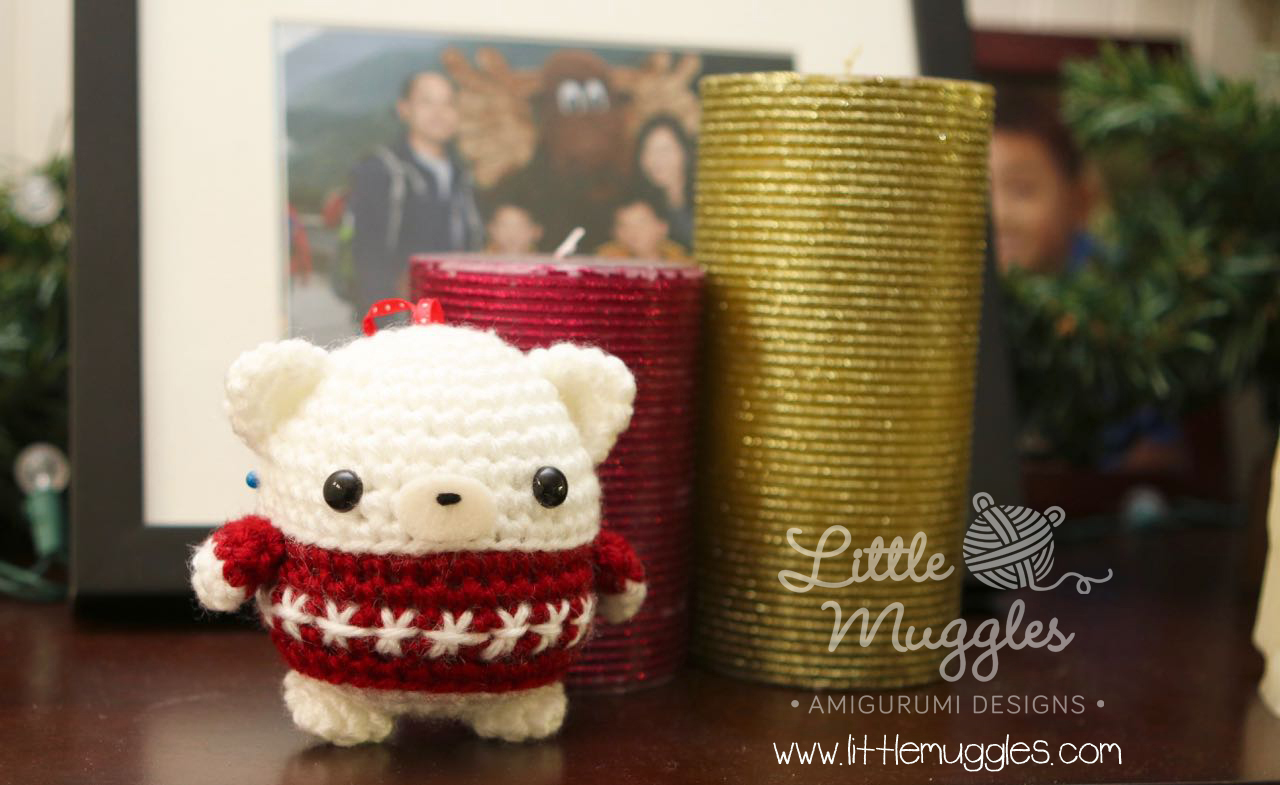
This little cutie can be used as festive decor as well! Put it anywhere for a pop of cuteness!
COPYRIGHT 2015 – LittleMuggles
This pattern is for personal use only. Please do not resell, redistribute, or rewrite this pattern in any way. Mass production/factory production of dolls made from this pattern is not allowed. Please do not claim my patterns or amigurumi designs as your own. You may sell your own hand-made finished dolls made from this pattern if you credit the design to “Little Muggles” and provide a link to this website. Thank you so much for your cooperation!
The finished doll as written is intended for decorative purposes only and not for use as a child’s toy. (there are small parts that can be swallowed) Please use caution and keep it out of reach of small children.