
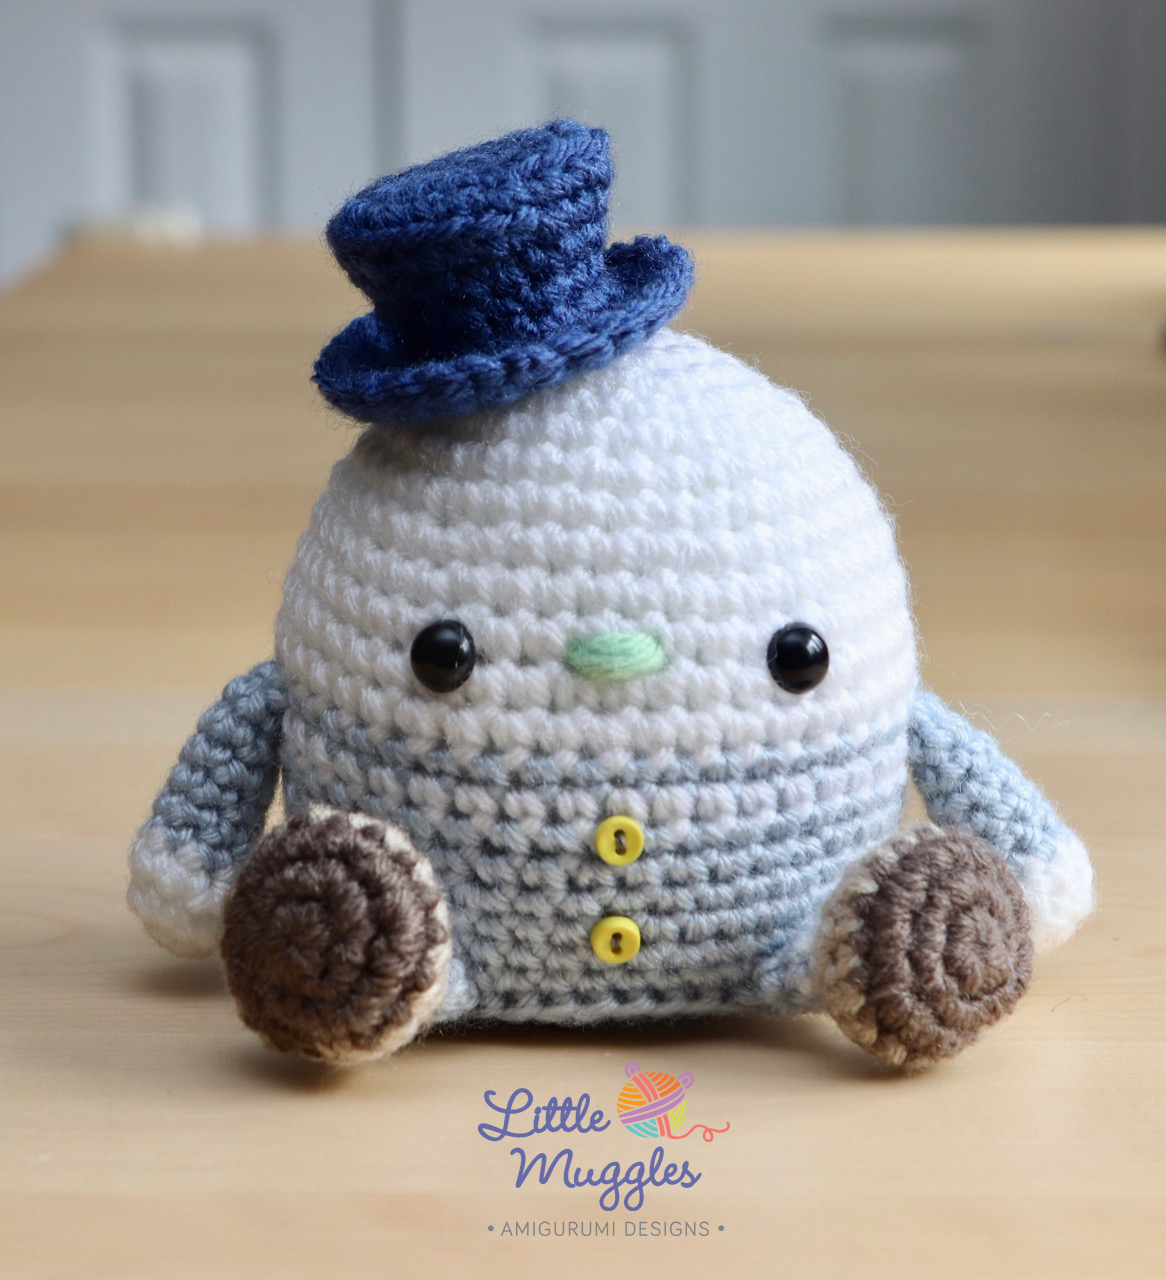

I’m happy to present my Humpty Dumpty pattern to you all! This seems an ideal time of year to release an egg doll seeing that Easter is just around the corner! 🙂 But of
Humpty Dumpty sat on a wall,
Humpty Dumpty had a great fall;
All the king’s horses and all the king’s men
Couldn’t put Humpty together again.
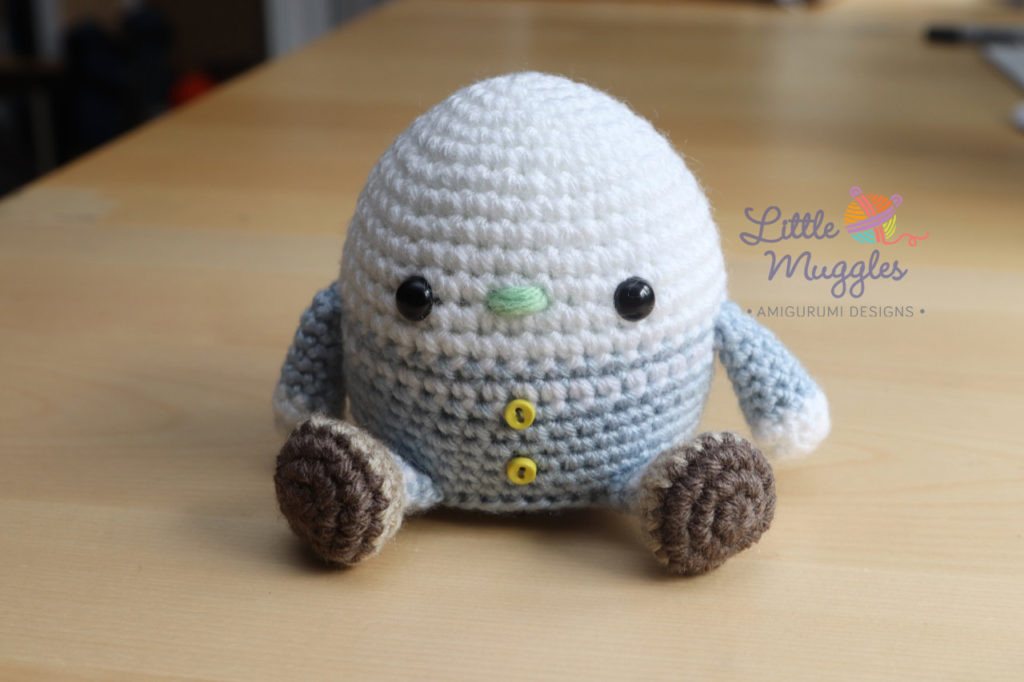
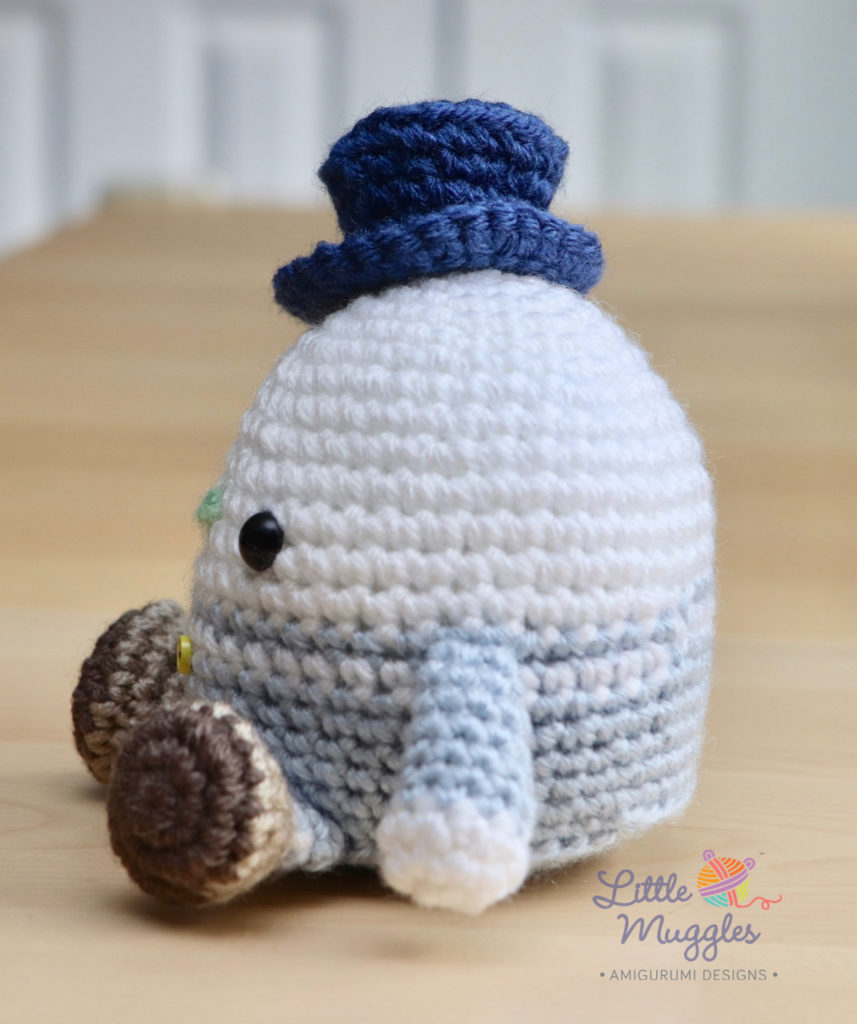
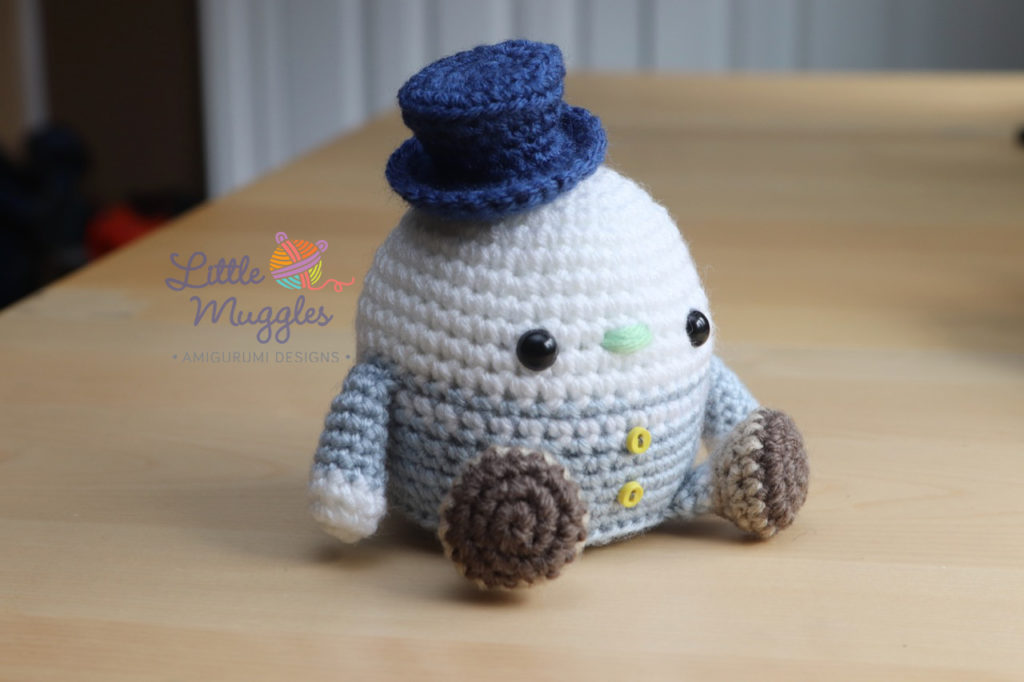
When made with the recommended materials, this doll is just under 4inches/9cm high from his head to the floor, not including his hat
MATERIALS
- Size 3.0mm crochet hook
- 10mm black safety eyes
- worsted weight yarn
- ( white, blue, dark blue, dark brown, light brown, and green)
- fiber-fill
- 2 buttons
- yarn needle
- stitch markers (optional, but highly recommended!)
TECHNIQUES TO KNOW
- magic ring
- color change
- invisible decrease
ABBREVIATIONS
- sc – single crochet
- inc- increase (make 2sc into stitch)
- dec- decrease (sc 2 together)
- st- stitch
sl st- slip stitchbpsc – back post single crochet- BLO – back loops only
HEAD/BODY
This doll is made from the top down – the head and body are one piece.
Start with white yarn
- Rnd 1: make 6sc into magic ring
- Rnd 2: inc in each st [12]
- Rnd 3: (sc in next st, inc in next st) repeat 6 times [18]
- Rnd 4: (sc in next 2 st, inc in next st) repeat 6 times [24]
- Rnd 5: sc in all 24 st [24]
- Rnd 6: (sc in next 3 st, inc in next st) repeat 6 times [30]
- Rnd 7: sc in next 2 st, inc in next st, (sc in next 4 st, inc in next st) repeat 5 times, sc in next 2 st [36]
- Rnd 8: sc in all 36 st [36]
- Rnd 9: (sc in next 5 st, inc in next st) repeat 6 times [42]
- Rnd 10-13: sc in all 42 st
- CHANGE TO BLUE YARN
- Rnd 14:
sl st, sc in next 41 st [42] - CHANGE TO WHITE YARN
- Rnd 15:
sl st, sc in next 41 st [42] - CHANGE TO BLUE YARN
- Rnd 16:
sl st, sc in next 41 st [42] - Rnd 17-19: sc in all 42 st [42]
- Rnd 20: sc in next 3 st, inc in next st, (sc in next 6 st, inc in next st) repeat 5 times, sc in next 3 st [48]
- Rnd 21: sc in all 48 st [48]
- Rnd 22:
bpsc in all 48 st [48] - Rnd 23: sc in next 3 st, dec, (sc in next 6 st, dec) repeat 5 times, sc in next 3 st [42]
- Rnd 24: (sc in next 5 st, dec) repeat 6 times [36]
- Rnd 25: sc in next 2 st, dec, (sc in next 4 st, dec) repeat 5 times, sc in next 2 st [30]
- Rnd 26: (sc in next 3 st, dec) repeat 6 times [24]
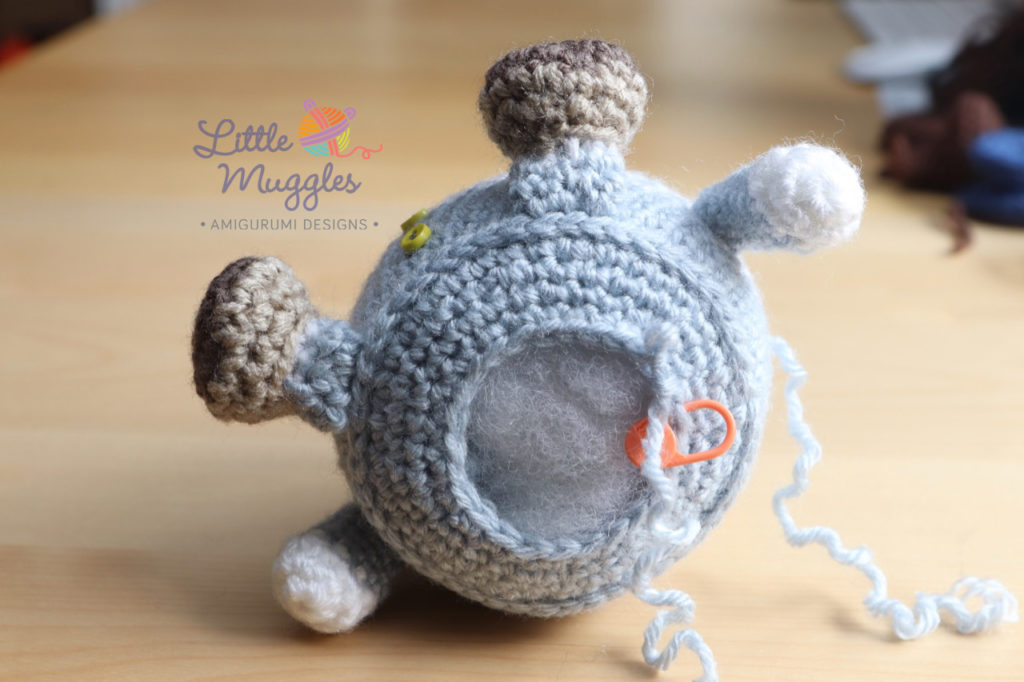
- At this point, you will want to place the safety eyes**, sew the nose and buttons, and stuff the body before proceeding.
- Rnd 27: (sc in next 2 st, dec) repeat 6 times [18]
- Rnd 28: (sc in next st, dec) repeat 6 times [12]
- Rnd 29:
dec 6 times - Bind off and weave in yarn tail
**Place the 10mm safety eyes between rounds 11 and 12 with an interspace of 7 stitches.
Sew the nose with a bit of green yarn.
Sew two buttons onto the front of the body.
ARM (make two)
start with white yarn
- Rnd 1: make 6sc into magic ring
- Rnd 2: inc in each st [12]
- Rnd 3: (sc in next 2 st, dec) repeat 4 times [9]
- CHANGE TO BLUE YARN
- Rnd 4:
sl st, sc in next 8 st [9] - Rnd 5-6: sc in all 9 st [9]
- Rnd 7: dec, sc in next 7 st [8]
- Rnd 8: sc in all 8 st [8]
- Rnd 9: dec, sc in next 6 st [7]
- Bind off and leave a tail
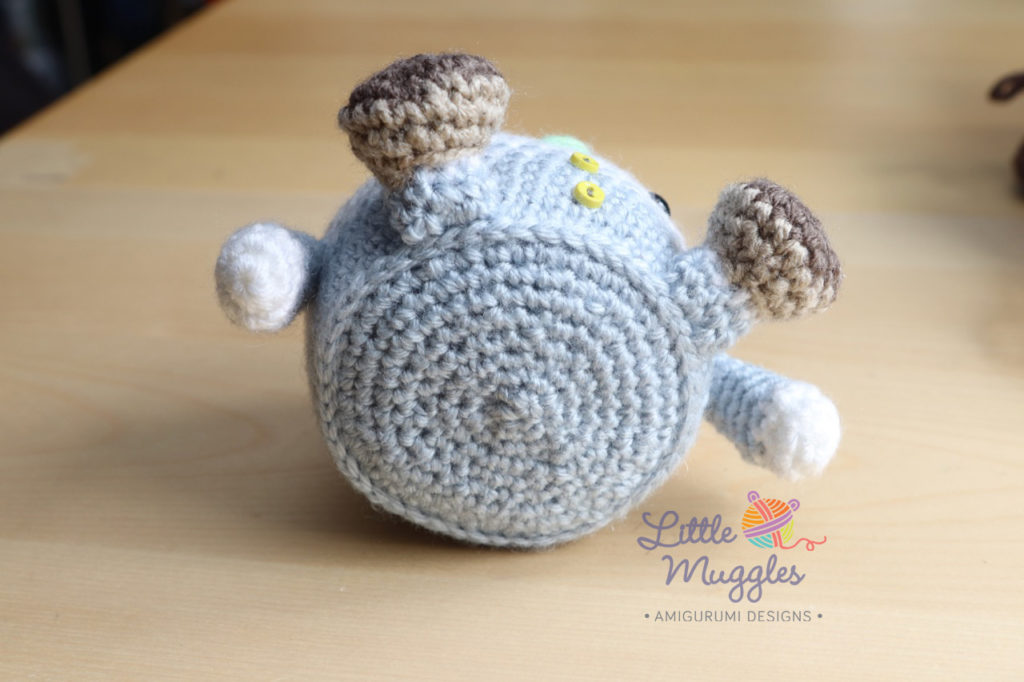
- Stuff the arm lightly and sew the opening shut before attaching to body.
FOOT (make two)
start with white yarn
- Rnd 1: make 6sc into magic ring
- Rnd 2: inc in each st [12]
- Rnd 3: (sc in next st, inc) repeat 6 times [18]
- CHANGE TO LIGHT BROWN YARN
- Rnd 4:
sl st, sc in next 17 st [18] - Rnd 5: (sc in next st, dec) repeat 6 times [12]
- Rnd 6: (sc in next 2 st, dec) repeat 3 times [9]
- CHANGE TO WHITE YARN
- Rnd 7: (BLO)
sl st, sc in next 8 st [9] - CHANGE TO BLUE YARN
- Rnd 8:
sl st, sc in next 8 st [9] - Rnd 9: sc in all 9 st [9]
- Stuff the foot and sew the opening shut before attaching to the body.
HAT
use dark blue yarn
- Rnd 1: make 6sc into magic ring
- Rnd 2: inc in each st [12]
- Rnd 3: (sc in next st, inc) repeat 6 times [18]
- Rnd 4: (sc in next 2 st, inc) repeat 6 times [24]
- Rnd 5: (BLO) sc in all 24 st [24]
- Rnd 6: (sc in next 2 st, dec) repeat 6 times [18]
- Rnd 7: sc in all 18 st [18]
- Rnd 8: (sc in next 2 st, dec) repeat 4 times, sc in next 2 st [14]
- Rnd 9: (sc in next st, inc in next st) repeat 7 times [21]
- Rnd 10: (sc in next 6 st, inc in next st) repeat 3 times [24]
- Rnd 11: (sc in next 7 st, inc in next st) repeat 3 times [27]
- Bind off
You should now be done with your doll! I hope you enjoyed making it! Please don’t forget to share your pictures by tagging me at #littlemuggles! I look forward to seeing your creations!!
COPYRIGHT 2019 – LittleMuggles
This pattern is for personal use only. Please do not sell or rewrite this pattern in any way. Mass production/ factory production of dolls made from this pattern is not allowed. Please do not claim my patterns or amigurumi designs as your own. You may sell your own handmade finished dolls if you credit the design to “Little Muggles” and include a link to my website (www.littlemuggles.com).