
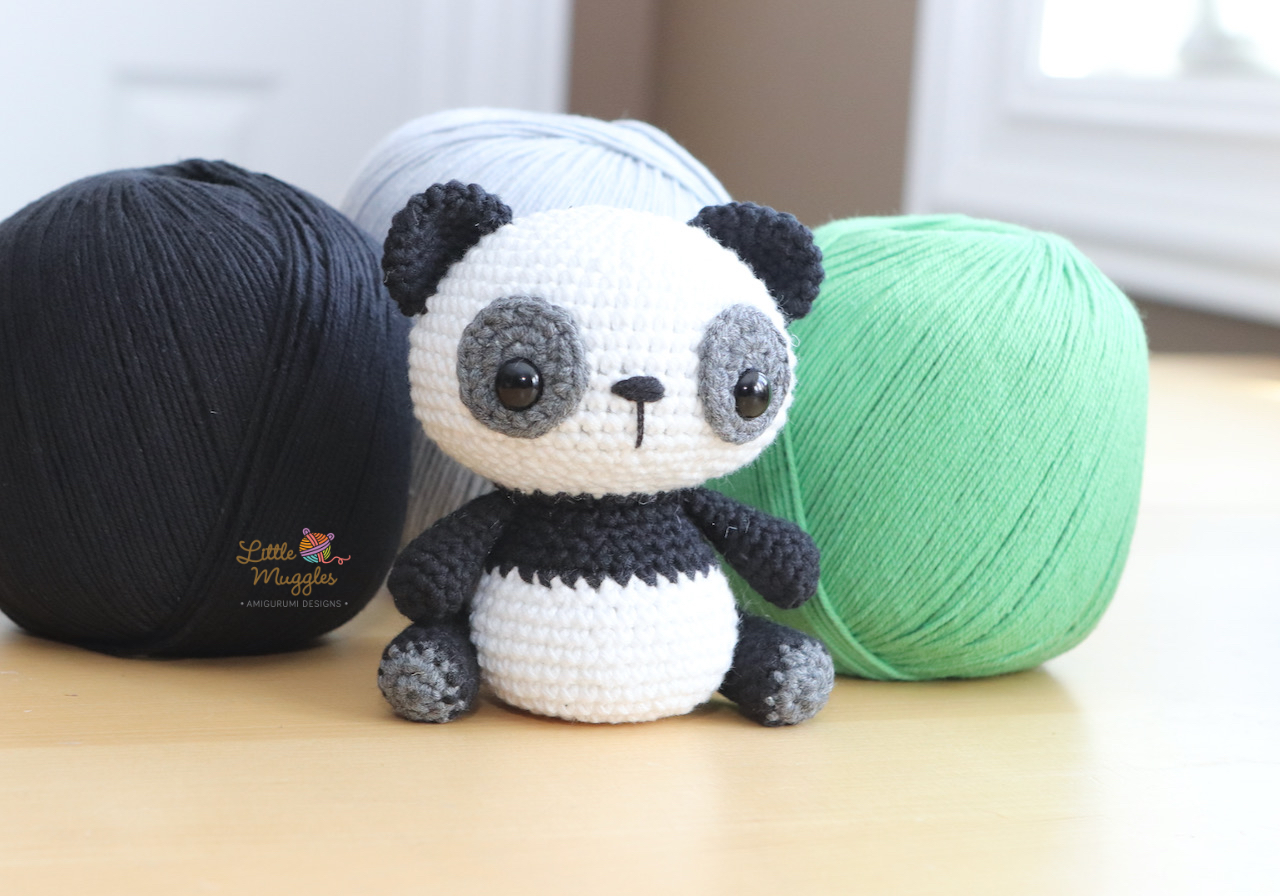
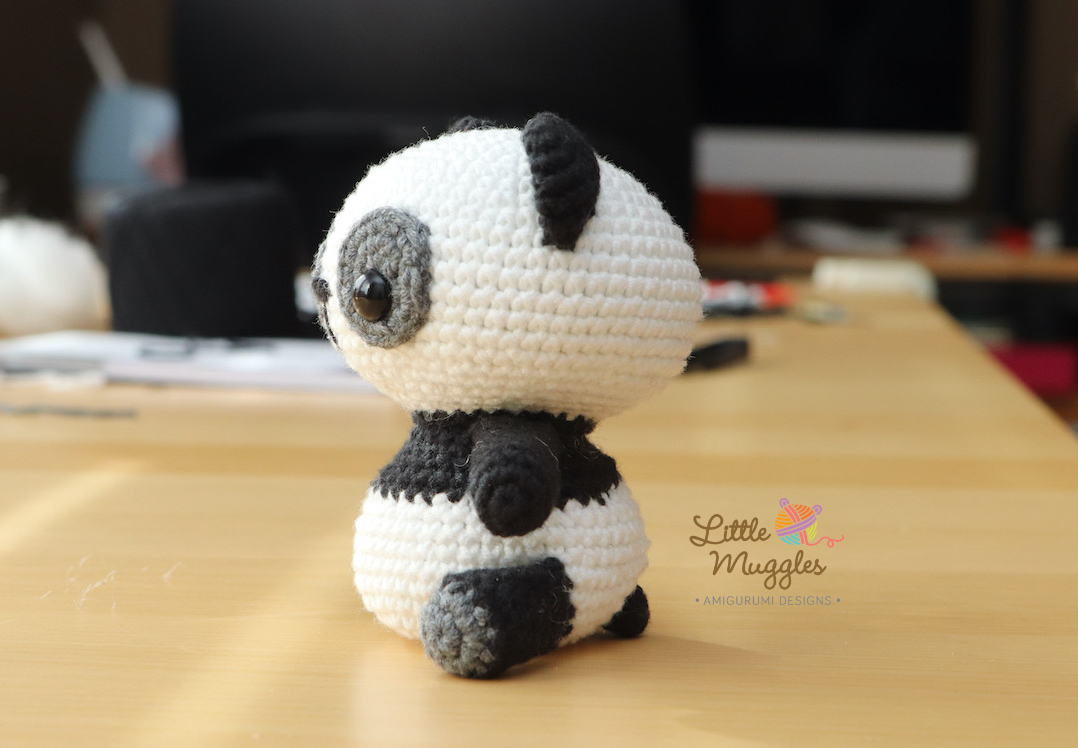
This cute little panda is made with Fine Category 2 cotton yarn and a 2.5mm hook. The specific yarn used is Premier Cotton Fair. Click HERE to explore this yarn! It sits at 4 in/10cm tall and can fit in the palm of your hand. He makes a perfect little desktop companion and if you use polyester pellets inside his body, he can serve as an adorable little paperweight!
MATERIALS
- 2.5mm crochet hook
- Category 2 weight yarn in black, white, and gray (In my example, I used Cotton Fair by Premier Yarns)
- fiber fill
- polyester pellets (optional, but this is what I used in my example)
- yarn needle
- stitch marker
- black embroidery thread
- pair of 10mm black safety eyes
This pattern is worked in continuous rounds using single crochet stitches, increases, and decreases. You need to be familiar with how to start with a magic ring and how to make color changes. Overall, this pattern is suitable for beginners. The small diameter of the arms may be a bit difficult for some.
HEAD
use white yarn
- Rnd 1: make 6sc into magic ring
- Rnd 2: inc into each st [12]
- Rnd 3: (sc in next st, inc in next st) repeat 6 times [18]
- Rnd 4: (sc in next 2 st, inc in next st) repeat 6 times [24]
- Rnd 5: sc in all 24 st [24]
- Rnd 6: (sc in next 3 st, inc in next st) repeat 6 times [30]
- Rnd 7: (sc in next 4 st, inc in next st) repeat 6 times [36]
- Rnd 8: (sc in next 5 st, inc in next st) repeat 6 times [42]
- Rnd 9: (sc in next 6 st, inc in next st) repeat 6 times [48]
- Rnd 10: (sc in next 7 st, inc in next st) repeat 6 times [54]
- Rnd 11-17: sc in all 54 st [54]
- Rnd 18: (sc in next 7 st, dec) repeat 6 times [48]
- Rnd 19: (sc in next 6 st, dec) repeat 6 times [42]
- Rnd 20: (sc in next 5 st, dec) repeat 6 times [36]
- Rnd 21: (sc in next 4 st, dec) repeat 6 times [30]
- Rnd 22: (sc in next 3 st, dec) repeat 6 times [24]
- Fasten off and weave in yarn tail
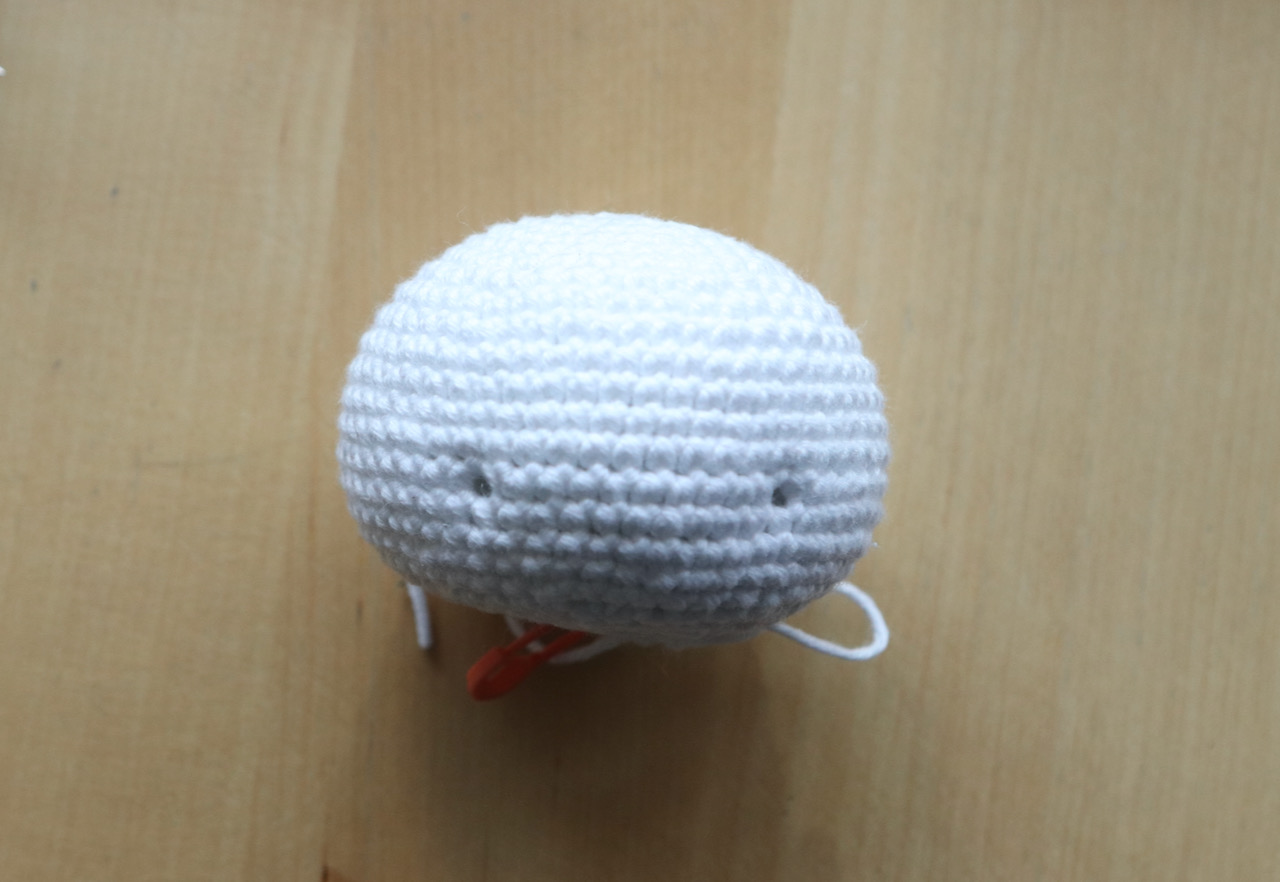
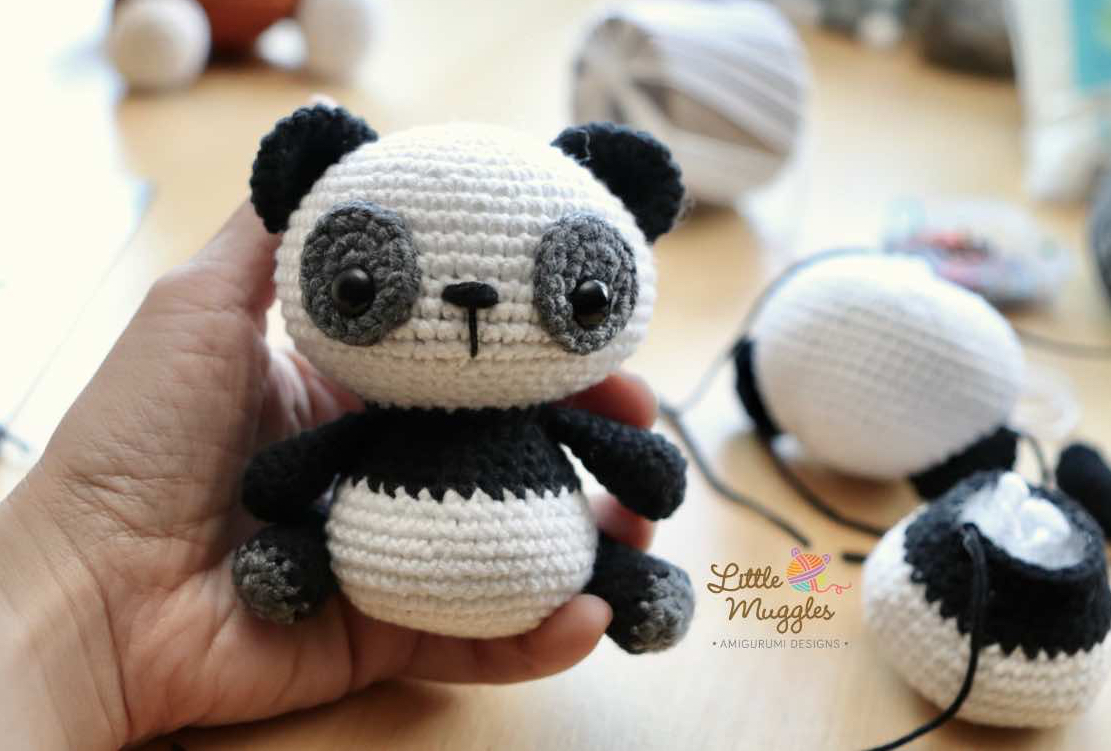
Stuff the head with fiber fill. The black safety eyes will be placed between Rnds 15 and 16, with an interspace of 9 stitches, as shown in the picture. But first you have to make the eye circles!
EYE CIRCLES
make two in gray yarn
- Rnd 1: make 6sc into magic ring
- Rnd 2: inc in each st [12]
- Rnd 3: (sc in next st, inc in next st) repeat 6 times [18]
Fasten off tail with an invisible finish.
Place a 10mm black safety eye through a stitch between rounds 1 and 2. The eye will be off center. The eye circle should be placed where the smaller gray margin is situated towards the bottom, as pictured.
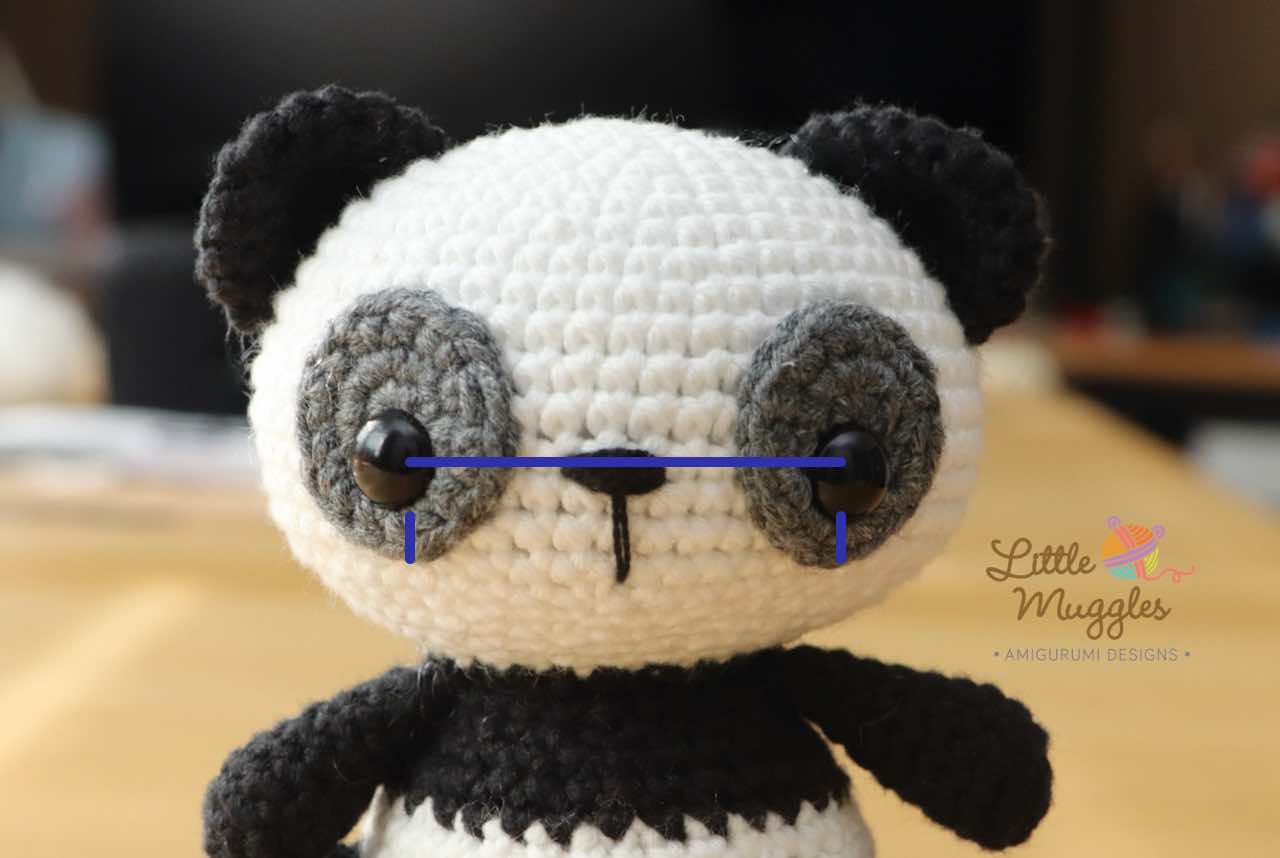
The black safety eyes should be going through both the gray eye circle and the white head. Once it is in position, attach the backings and then carefully sew the gray circle onto the head.
Use black embroidery thread to sew the nose/mouth onto the head. Try to line the nose up so that it is approximately halfway between the eyes, as pictured. Tie your thread tails inside the head.

EARS
make two in black yarn
- Rnd 1: make 6sc into magic ring
- Rnd 2: inc in each st [12]
- Rnd 3: (sc in next st, inc in next st) repeat 6 times [18]
- Rnd 4-5 sc in all 18 st [18]
- Fasten off and leave a tail for sewing onto head
The ears do not need to be stuffed. Flatten the ears and sew the opening closed before attaching symmetrically to the head. In my example, the ears cover Rnds 6 to 12.
BODY
start with white yarn
- Rnd 1: make 6sc into magic ring
- Rnd 2: inc in each st [12]
- Rnd 3: (sc in next st, inc in next st) repeat 6 times [18]
- Rnd 4: (sc in the next 2 st, inc in the next st) repeat 6 times [24]
- Rnd 5: (sc in the next 3 st, inc in the next st) repeat 6 times [30]
- Rnd 6: (sc in the next 4 st, inc in the next st) repeat 6 times [36]
- Rnd 7: (sc in the next 5 st, inc in the next st) repeat 6 times [42]
- Rnd 8: sc in all 42 st [42]
- Rnd 9: (sc in the next 6 st, inc in the next st) repeat 6 times [48]
- Rnd 10: sc in all 48 st [48]
- Rnd 11: (sc in the next 6 st, dec) repeat 6 times [42]
- Rnd 12: sc in all 42 st [42]
- Rnd 13: (sc in the next 5 st, dec) repeat 6 times [36]
change to black yarn
- Rnd 14: (sc in the next 4 st, dec) repeat 6 times [30]
- Rnd 15: sc in all 30 st [30]
- Rnd 16: (sc in the next 3 st, dec) repeat 6 times [24]
- Rnd 17-18: sc in all 24 st [24]
Pour poly pellets until it fills the body about half way and then stuff the rest of the body with fiber fill. Of course you can choose to use only fiber fill as well. Carefully sew the head to the body.
ARM
make two with black yarn
- Rnd 1: make 6sc into magic ring
- Rnd 2: (sc in next st, inc in next st) repeat 3 times [9]
- Rnd 3-10: sc in all 9 st [9]
Stuff the arm with a bit of fiber fill, concentrating most at the bottom and using less as you move up. In my example, I only stuffed the arm half way up and left the rest empty.
Fasten off, sew the openings shut, and leave a tail for sewing. Attach the arms to either side of the body just under the head.
FOOT
make two – start with gray yarn
- Rnd 1: make 6sc into magic ring
- Rnd 2: inc in each st [12]
change to black yarn
- Rnd 3: (sc in next st, inc in next st) repeat 6 times [18]
- Rnd 4: (sc in next st, dec) repeat 6 times [12]
- Rnd 5-6: sc in all 12 st [12]
- Rnd 7: dec, sc in next 10 st [11]
- Rnd 8-9: sc in all 11 st [11]
- Rnd 10: dec, sc in all 9 st [10]
Stuff the foot, concentrating most of the fiber fill at the bottom (similar to the arms)
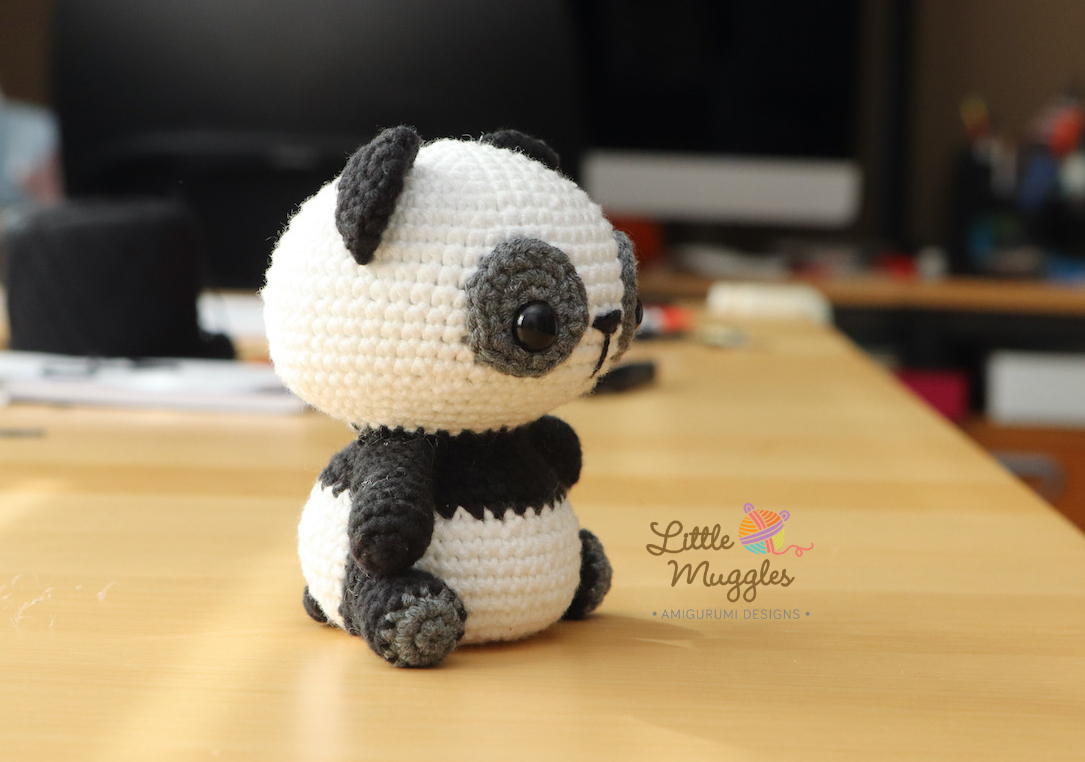
Fasten off, sew the opening shut, and leave a tail for sewing. Attach the legs to either side of the body as shown in my photos. The legs should provide extra support to your panda in the sitting position.
TAIL
use black yarn
- Rnd 1: make 6sc into magic ring
- Rnd 2: (sc in next st, inc in next st) repeat 6 times [9]
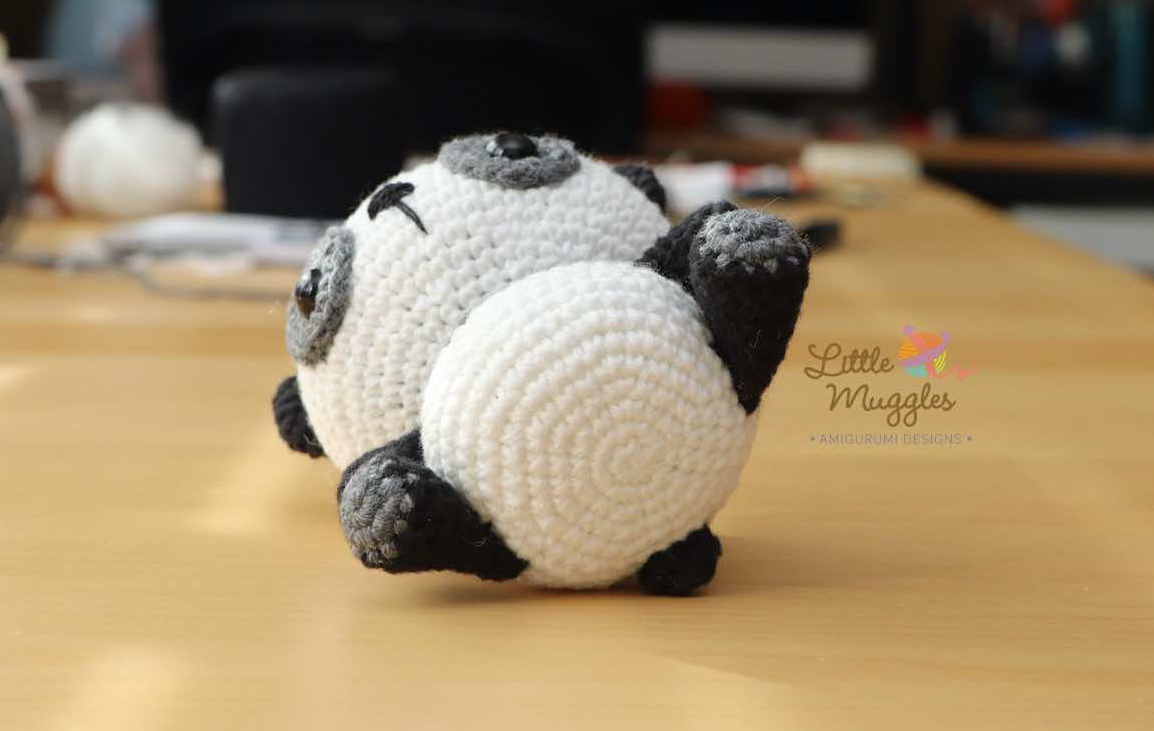
Fasten off and leave a tail for sewing. In my example, I didn’t sew the tail opening shut. Instead, I squeezed it into a horizontal oval and sewed around the circumference of the opening. Make sure you take care in positioning the tail. In my example, the tail covers Rnd 7 and 8. The bottom of the panda should be able to sit flat on a surface without the tail getting in the way.
Congratulations! Your panda doll is now finished! Hope you’ve enjoyed the process and love the results! Don’t forget to share your picures! #littlemuggles
©2022 by Little Muggles
This pattern is for personal use only. Please do not sell or rewrite this pattern in any way. Please do not use my photos as your own. Mass production/ factory production of dolls made from this pattern is not allowed. Please do not claim my patterns or amigurumi designs as your own. You may sell your own handmade finished dolls if you credit the design to “Little Muggles” and include a link to my website (www.littlemuggles.com).